Click vinyl tiles have seen a large increase in demand over the last few years and now takes its place as the fastest growing flooring in the world. Not only does it allow for a high quality and professional finish, LVT is also incredibly easy to install yourself.
What you need to install LVT Flooring;
- A Tape Measure
- Builders level (rather than a spirit level)
- LVT Underlay
- Ruler
- Pencil
- Stanley Knife or Saw
- 7-10mm Spacers
- Rubber mallet
How to lay LVT Flooring
We've put together this step by step video showing how to cut and lay LVT flooring in your homes, with more detail provided below for each step.
Step 1: Prepare the site before laying LVT
The first and most critical step in the process is preparing the site before laying luxury vinyl tiles. It’s essential that you ensure that it’s even. One common mistake that we often see is people advising to use or using a spirit level to assess whether it’s level, which is simply not accurate. Instead, you should be using a builders level, which should give a more accurate reading. Your floor might have high and low elements but as long as it’s broadly even, you’re good to go. Take your time with this step, It’s the floor preparation itself that is the most important thing; unnoticed undulations in the floor can cause issues and imperfections, instead, you should endeavour to have a flat and smooth floor.
Step 2: Acclimatise your LVT
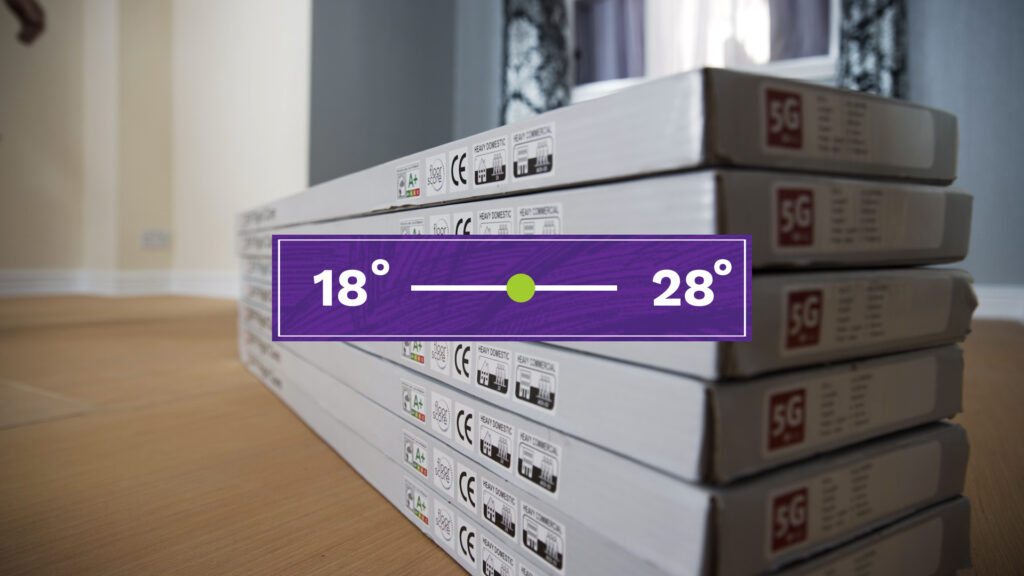
The next step is to acclimatise your LVT, which occurs when you leave it in the room it will be laid in for 48 hours. This is, again, a crucial but often overlooked step, you should give careful consideration to where they are being placed. Some people make the mistake of standing the tiles up, laying them on top of each other or storing them in the garage. Instead, they should be laid flat in the room in which they are going to be installed in and left unopened. The temperature in the room should also not exceed 28 degrees. You should also be mindful of direct sunlight, if the LVT is going in an open plan kitchen, with bi-fold doors and a south facing garden then they could be exposed to high (and potentially dangerous) levels of direct sunlight.
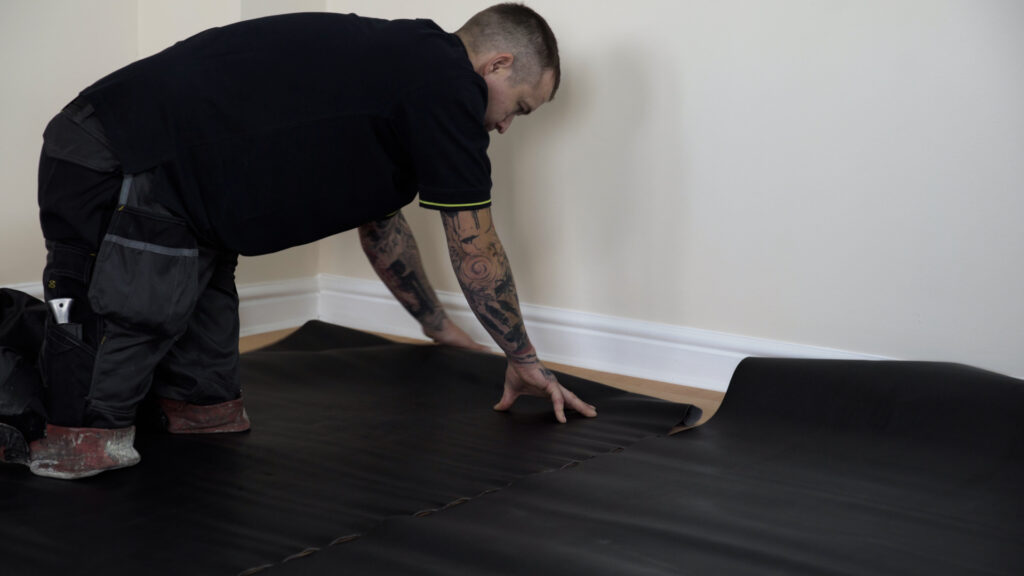
Step 3: Lay the LVT underlay
When you’re installing LVT, you should only use an LVT underlay or a self-adhesive vinyl tile underlay. The role of the underlay is to bed the flooring in, as opposed to using it to overcome an imperfect sub-floor. This further reinforces the role of step 1 and the importance of the sub-floor preparation for this particular product.
We’ve developed our own Pro Lay Underlay Collection by working directly with the manufacturer, to bring the very best solution to our customers. While this is a state-of-the-art innovation, it’s not going to mask a poor floor as it’s not designed to take out the imperfections but, instead, purely to bed the floor on. Many competing products will have a moisture barrier in the underlay but that’s not necessary.
Step 4: Install the LVT Floor
Historically, there has been two types of LVT floor. Traditional angle click and ‘tap down’ click or ‘fold down’. All the products sold by Factory Direct Flooring Ltd are ‘fold down’ or ‘tap down’. An example of our ‘fold down’ solution is the Aquaplank 5g Ultra which boasts the most advanced locking system that’s available. Not only does it click into place but it also locks into place to ensure a secure solution.
The main disadvantage with a traditional angle click is that it is the most difficult to install, with our focus being on the end user / consumer and making it as easy as possible for them to install.
There’s also the difference between gluedown and click LVT which are very different products and need to be treated so. We stock the Engraved range which requires professional installation and isn’t a DIY product.
Fitting your Luxury Vinyl Tiles
Now we’ve finally completed all of the necessary prep work, it’s time to start fitting your LVT.
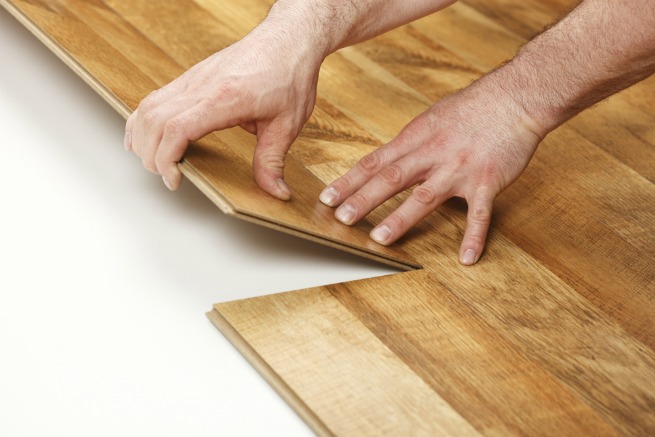
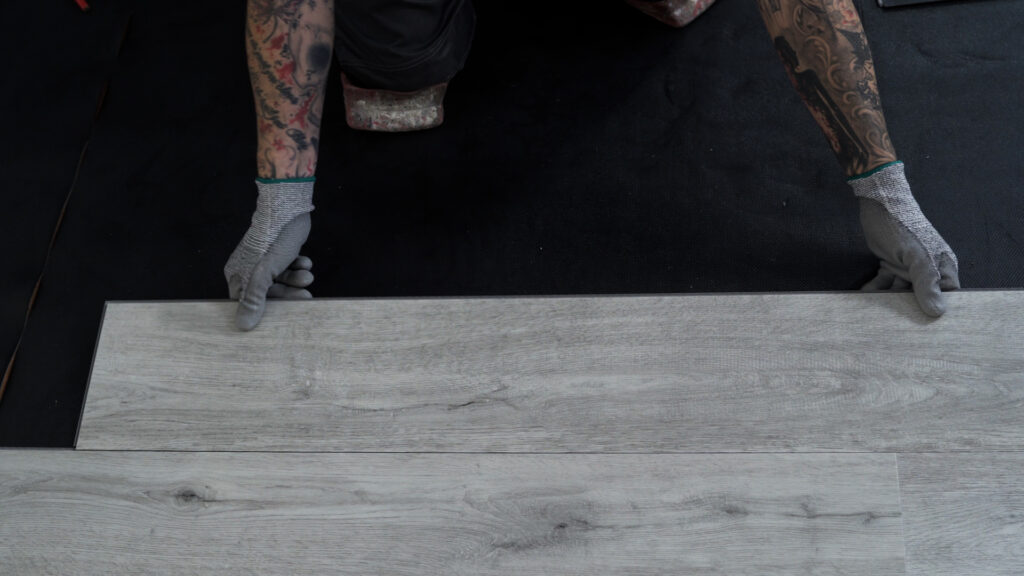
- Firstly, familiarise yourself with the tiles. The long side is commonly referred to as the female side, whilst the short side is the male side. Begin by placing the male side up against the wall and the female side away from the wall. Make sure to use your spacers to set the gap you want to leave from the wall, using a minimum cut.
- Once this first plank is in place, add the next plank with the end joints first, inserting the male click system, starting at a 45 degree angle and applying pressure until the join is flat. Continue this clicking process until the entire row is installed and the joints are flush.
- To make sure that the arrangement looks as natural as possible, try to use half planks in your rows. For example, if a plank in the first row is 60cm by 40cm, use the 40cm off-cut on the next row to achieve a natural look.
- When you reach the last plank, it will need to be cut to size. Use your ruler to measure the gap between the wall and the penultimate plank; don’t forget to use the spacer when measuring! If the measurement is under 20cm, it is natural to cut the first plank in the row, ensuring a neat finish.
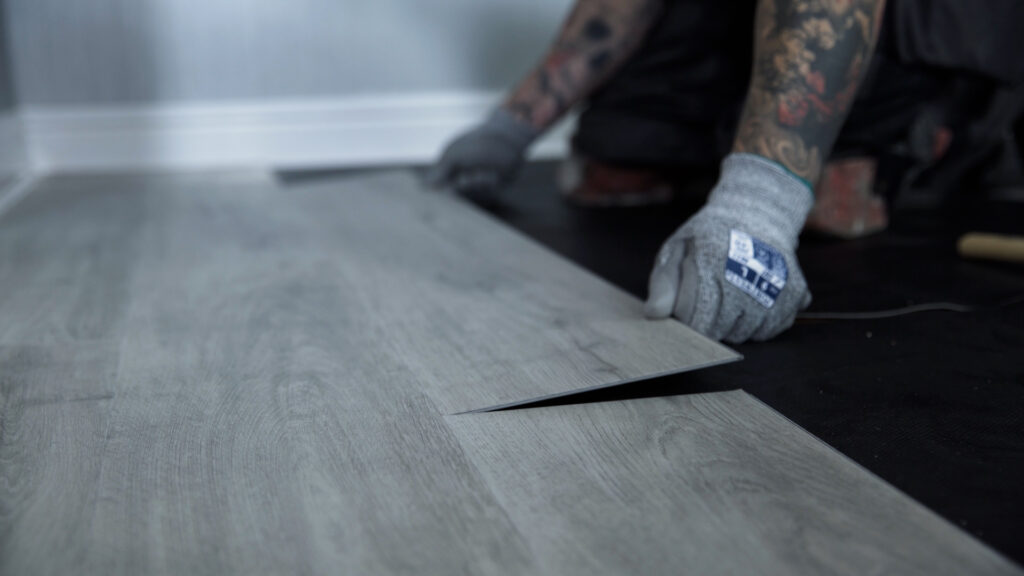
- To cut the plank use a Stanley knife to score the surface of the plank in line with the straight edge. From there, you simply snap the tile at the score line, creating a clean break. If the off-cut from the vinyl plank is over 30cm, you can use this as the first plank for the next row!
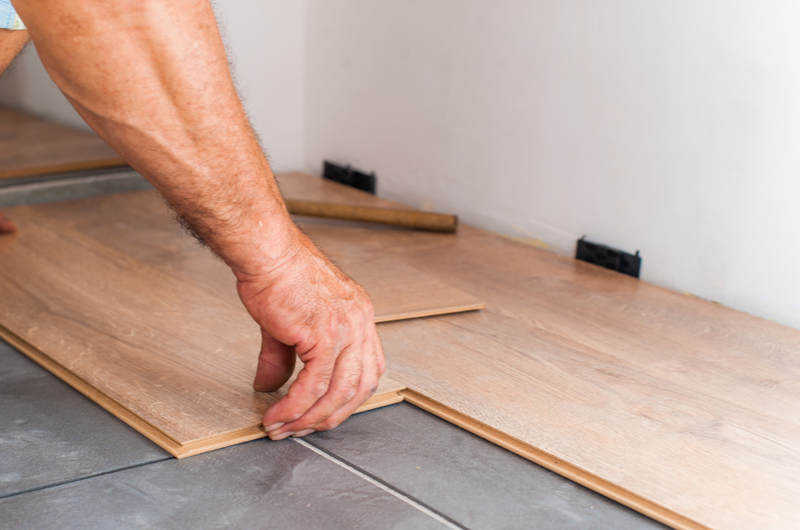
- From here, you can click the long side of the next row’s LVT plank into the first row.
- Once you have the first plank in, fit the second plank in this row by positioning the female side of the plank so that the female click system overlaps with the male click system of the planks in the previous row. Then, place the plank down and fit the click systems on the male sides together. Alternatively, you could join an entire row of planks together and then click them all into the previous row. Either way, it’s essential to use the roller on each plank so that the fit is perfect.
- Continue the process, fitting from left to right, row by row.
- When you reach the final row you may need to cut each plank in the row to size. In this situation you should measure the remaining area (not forgetting your spacer) and then cut your planks to size using the method outlined in step 2. Be careful to cut the right side, as the final planks need to click into place with grooves in the previous row.
- Finally, remove the spacers from the edge of the room!
So, you’ve installed your LVT, the process doesn’t stop there! You have to look after your floor like you would any other product. Whilst LVT is relatively low maintenance, it does require you to re-apply a wear layer every three months to ensure maximum durability. We would recommend using our Tile Maintenance Cleaner Pack for this, as it lasts over two years! It’s also important to regularly replace felt pad floor protectors on your furniture, they prevent scratches from heavy items of furniture. It’s also important to keep on top of the day to day cleaning of your LVT, so that dust and debris doesn’t build up on your shiny new floor.
Need inspiration for your LVT Flooring?
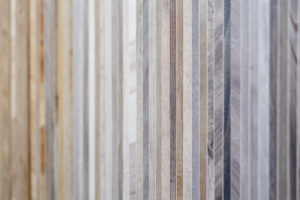
LVT can look great throughout your home, from traditional oak to vintage patterned tiles, you can find an LVT to suit your style.
LVT Flooring Per Room
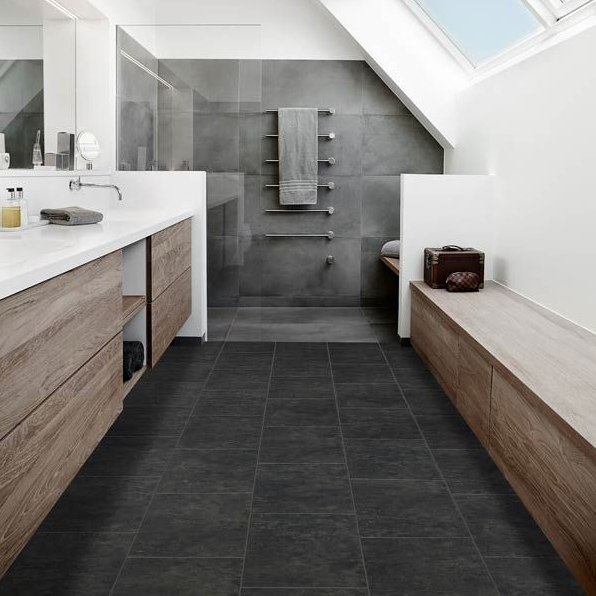
Luxury Vinyl Tiles are perfect for bathrooms, not only are they waterproof, they also imitate the designs expensive stone tiles.
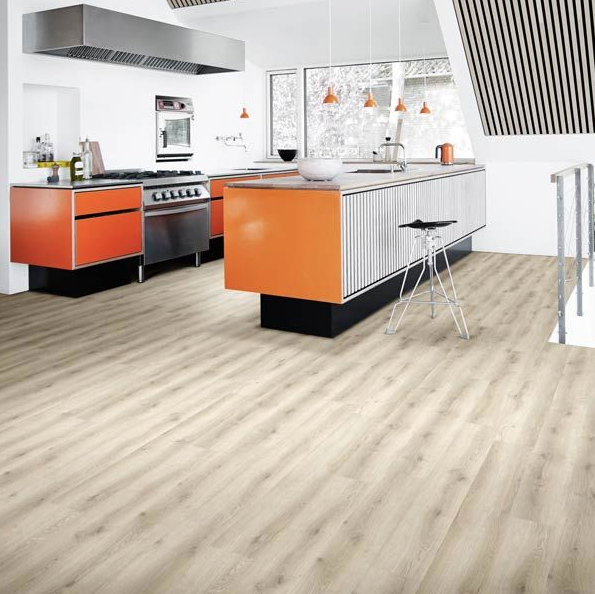
Most people opt for tile or wood effect LVT for their kitchen. It's spill proof, making it perfect for a family kitchen.
Wood effect LVT also looks great in living rooms! Have a look at our Living Room LVT range to see more.

Popular LVT Shades / Colours
Whether it's light, dark or grey LVT, we've got you covered.
If you’re looking for more inspiration, head over to our Houzz account for design ideas. Easy to install at home and stylish at the same time, there’s a reason LVT is the fastest growing flooring solution in the world.
Frequently Asked Questions
Q: Which rooms are luxury vinyl tiles suitable for?
A: LVT is suitable for every room, but we would be wary of laying it in direct sunlight. If you are doing so we recommend installing blinds and other protection to maintain the floor coloration.
Explore our range of LVT
At Factory Direct Flooring Ltd we offer a wide range of Click Luxury Vinyl Tiles. We deliver LVT to your kerbside so you can lay it yourself using this handy guide!