Whether you’re a DIY pro or not, fitting laminate flooring is a fairly straightforward job with the right preparation and tools. As one of the most cost-effective flooring options, installing it yourself can help you save even more pennies. So, with minimal effort and expense, you can get a fresh, stylish floor that will look great and last for years.
Here are some tips on how to get a professional finish when laying your laminate floors.
Laying laminate flooring video tutorial
Get a full look at the installation process with our video tutorial.
What tools do I need for laminate flooring installation?
The exact type of laminate you’re installing will affect the specific tools you’ll need. For example, if you’re glueing your boards in place, you’ll need a trowel to apply the adhesive before laying them, which isn’t needed for click-and-lock laminate flooring.
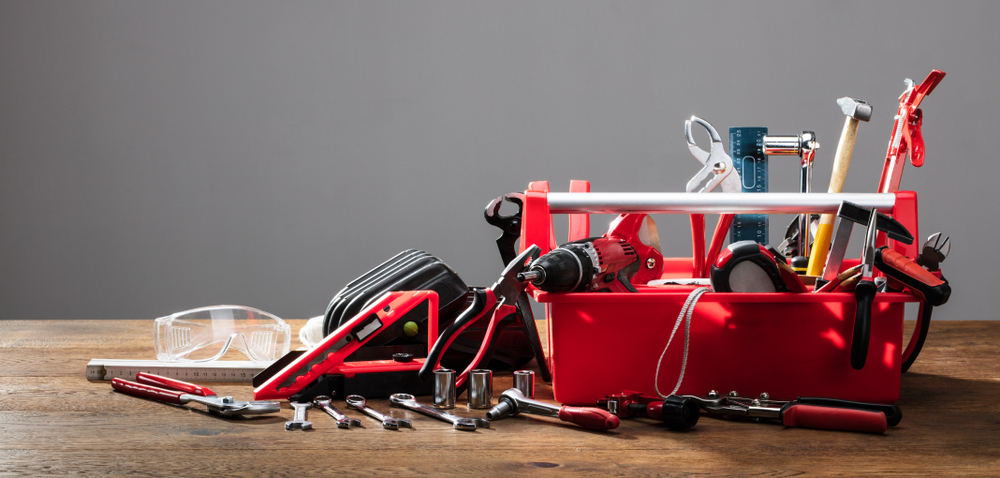
Once you’ve removed your old flooring and are ready to install, you’ll need the following tools to fit your underlay and laminate:
- Measuring tape to measure your boards and the room
- Scissors or a utility knife to cut your underlay
- Adhesive, waterproof tape to keep your underlay in place
- A rubber hammer and pull bar to gently knock your boards into place
- Flooring spacers to keep an even gap between your floor and the room edge
- Spade or flat wood drill bits to cut holes in laminate boards for pipes
- A chalk pencil to mark saw lines
- A square to help you mark straight edges
- A laminate floor cutter to cut the boards
- A mitre box to hold skirting or beading in place
- A handsaw and workbench to cut your skirting or boards
- A wood chisel to trim your skirting boards or other wood edges
- A notched trowel to apply an even level of glue to lay boards on (if using)
- A hammer and nails, power drill and screws or wood adhesive for your skirting
If you think you’re a little short on the tools you need, check out our flooring accessories for everything you need to install your floor.
Before you begin
Taking a few preparatory steps will help set your laminate installation up for success. It’ll also minimise the likelihood of problems with the flooring, such as warpage or creaking, later down the line. Also before you start installing your new floor please read our guide on common mistakes when laying laminate flooring to help you avoid these simple pitfalls and problems.
Subfloor assessment and preparation
Even though your laminate isn’t attached to the subfloor, it still acts as its foundation. So making sure this is in good condition is the first step to creating a smooth, professional finish. When you remove all the old floorboards, take some time to inspect the subfloor.
It may be tile, wood or concrete and needs to be clean, dry and level before you lay any laminate on it. Check for loose or irregular areas and make sure these are addressed to create a smooth surface before you move on to the next stage.
Add an underlay layer
A layer of underlay will protect your laminate and help it stay in the best condition for longer. Typically made of foam or fibreboard, underlay sheeting provides damp proofing, heat insulation and sound absorption.
It also prevents minor subfloor imperfections from affecting the overall fitting and cushions the laminate as people move across it. Fibreboard is recommended for wooden subfloors and foam for concrete.
Remove all baseboards
To give your laminate floor room to expand and leave a professional finish, remove any base or skirting boards from the edges of the room before installation. This means you can fit your flooring closer to the wall, so when you refit the boards, they fit neatly against the surface of the new floor.
This not only creates a polished edge but also means you can easily adjust the height of the boards if the new laminate is thicker than the old flooring.
Give everything a thorough vacuum
Giving the entire floor a good hoover will stop any dust, debris and or small objects from getting stuck under your new laminate and causing problems. If the old floor was secured with adhesive, make sure this is scraped or wiped away to prevent the new layers from sticking where you don’t want them to.
Fixing in any screws or nails securely will stop them from catching materials or causing warpage and creaking later.
How long does it take to lay laminate flooring
Depending on the size of the floor being laid, fitting laminate flooring can take a professional between 3-4 hours. So give yourself plenty of time and allow for a full day. This way you won't be rushed and make the install as professional as you can.
The Steps to Lay Laminate Flooring
From figuring out how many boards you need to getting a professional-looking finish, here are all the stages you need to follow to lay glueless laminate flooring effectively.
1. Work out how much laminate flooring you need

Top tip: Watch our video on how to calculate and how much you will need which also has a easy to use calculator tool.
To measure the floor, use your tape to record the length and width of the rooms you’re installing laminate in. Multiply these together. If the room is square, this will give you the total square footage of the space in metres or feet.
For spaces with recesses or extra sections, it's worth drawing a diagram and measuring out each area separately. You can then break each area down into rectangles to work out the total square footage. If you’re installing laminate on stairs, measure the depth and height of each step, add them up together and multiply by the width of the staircase.
Adding together the measurements for each space will give you the final amount of flooring you need. To cover any replacements, repairs or mistakes, add 10% of this total on top. This will give you the final amount you need to order. For example, you’ll need to order three packs of five square metre laminate for a 15 square metre space.
2. Gather your tools and materials
Before installation day, make sure you have all the tools you need available. Remove the laminate and underlay from their packaging and leave them in the room you’re installing in. This will help them adjust to room temperature and settle in faster after fitting.
3. Install your underlay
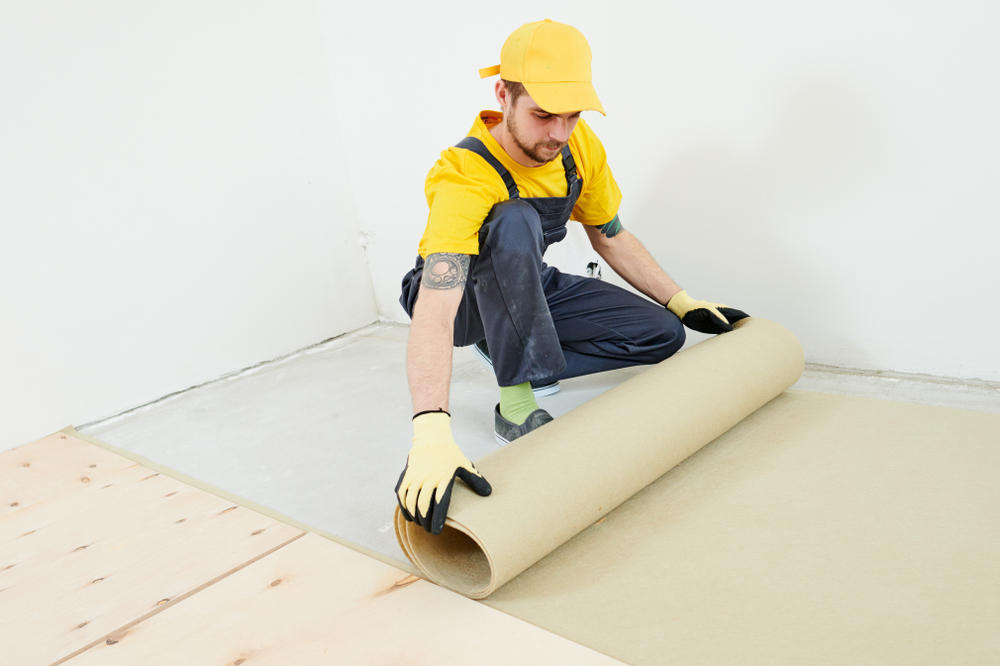
Simply roll out the sheets of underlay in the room and touch the edges together. Then, secure them with waterproof tape according to the manufacturer’s instructions. Finally, trim the underlay with a knife or scissors so it fits snugly to the edges of the room. If you still aren't sure don't worry you can read more detail on fitting underlay with our comprehensive guide here.
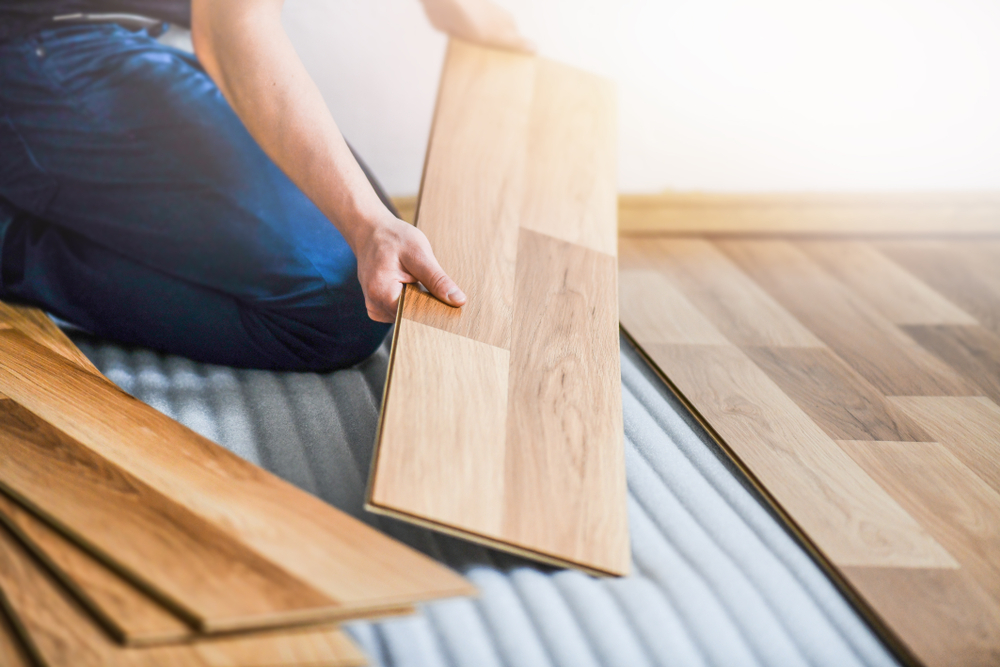
4. Begin the first row of planks
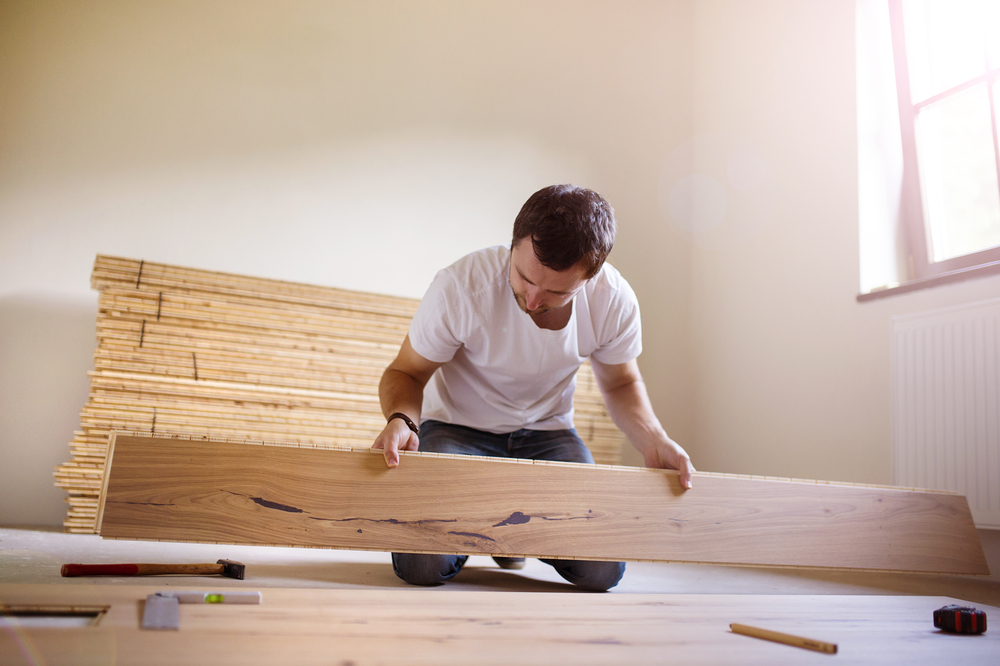
Start your installation in the left-hand corner of the longest wall in the room. If your not sure on which direction to lay your flooring check out this article first. Whichever type of laminate you’re laying, make sure you place the tongue edge against the wall. Use spacers to leave a gap of around 8-10mm between the laminate floor and the wall. This will allow for any expansion as the flooring settles into place.
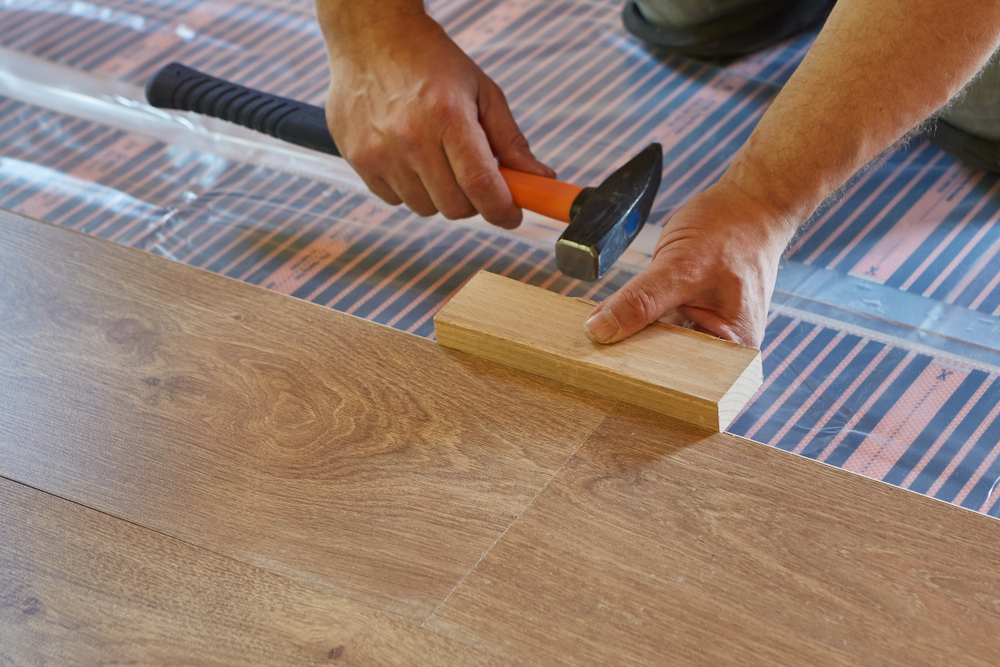
Once the first plank is in place, start laying the others. Click the boards together and secure them by tapping with a rubber hammer and pull bar.
5. Finish the first row

Once you get to the final plank in the first row, measure the length needed to meet up to the wall. Subtract 8-10mm from this length to allow for expansion spacing. Mark out this length on a laminate board using a chalk pencil and square (this will ensure your line is straight). Cut the plank using a saw and securely install it to complete the first row.
6. Plan the next row
When laying the next rows, it’s important that the planks are staggered rather than laid perfectly next to each other. This not only looks better but ensures the floor remains stable. Though this will mean cutting laminate boards to fit, we recommend not using lengths shorter than 40cm (16 inches). This will keep the layout balanced and looking great.
Keep using spacers around the perimeter of the room. Also, take into account that the last rows at the edges of the room will need to be at least 100mm wide to stay stable. So you may need to adjust the width of the boards in the centre of the room to get the best fit.
7. Continue laying more rows
When you’re laying out your rows of laminate, keep the following in line:
- Hold each piece at a 45-degree angle while interlocking the joints
- Use a rubber hammer, pull bar or tapping block to ensure a tight fit between boards
- Periodically check for gaps (this may happen as you move each new board into place) and adjust as necessary for a seamless appearance
- To fit boards next to a door frame easily, measure the depth of your board and undercut this amount from the frame with a handsaw
- To make holes for pipes, measure the distance between the wall and centre of the pipe. Mark this measurement from the edge of the board and use a spade or flat wood drill bit and hand saw to create the hole. Make sure no board is in contact with pipes once fitted
8. Repeat until your floor is fully laid
Take care to repeat these instructions all the way from row 2 until you are as close to the farthest wall as you can get. Remember to use the offcuts to start each new row and to gently hammer in each board til its click into the previous row.
9. Add the beading or skirting
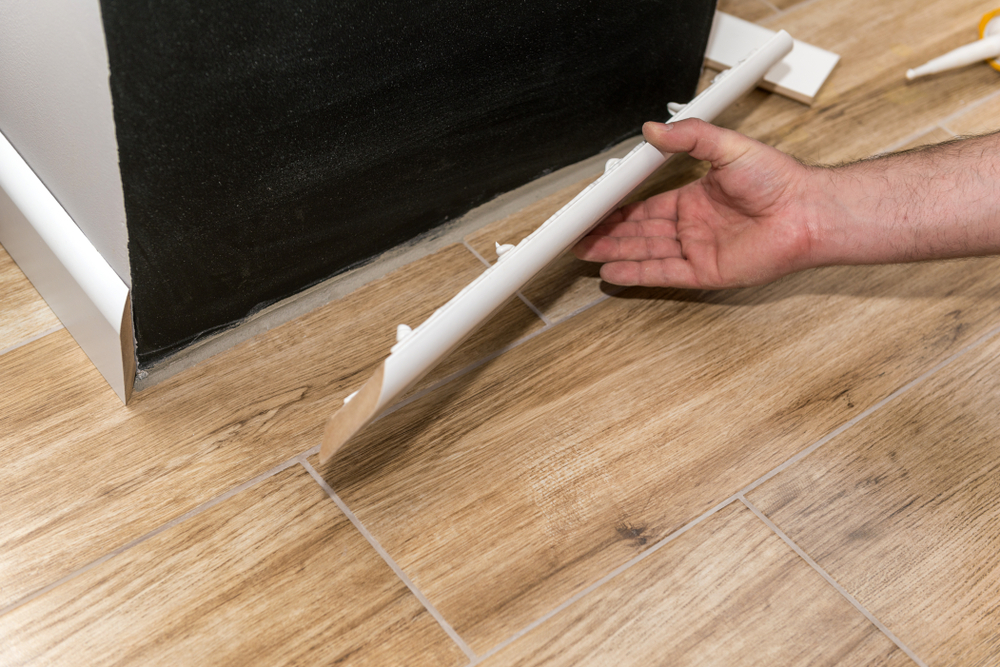
Once your laminate floor has been laid, you'll want to install floor edging to create a uniform, neat finish and cover the expansion gaps between the boards and the wall. There are lots of floor edging options, including skirting and beading, each of which will be installed slightly differently. So make sure you follow the manufacturer’s instructions to achieve a polished look.
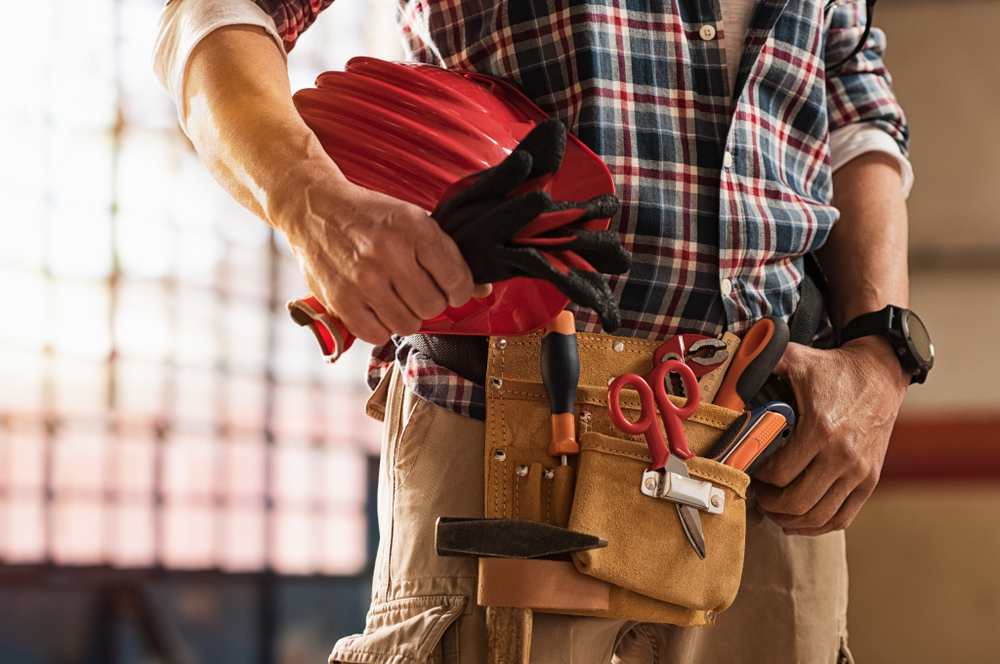
Top safety tips
Just like with any DIY job, laying laminate flooring comes with risks. The following accessories and tips will help you stay comfortable as you work on your new floor and keep you safe from injury.
Safety goggles
When you’re cutting the laminate boards and any edging to size, wearing safety goggles will stop hard splinters or debris from damaging your eyes. Wearing them as you work on the subfloor will also help you see clearly and stop your eyes from getting irritated by dust.
Knee pads
While laying the boards, you’ll be on your knees for an extended period. Especially if you’re glueing your laminate, you can’t afford to get up and stretch your legs too often. Knee pads will keep you comfortable and prevent your joints from feeling the stress of hours working on a hard surface.
Ones made from soft materials will also prevent your kneecaps, jeans or trousers from scuffing the final surface.
Dust mask
You don’t want to be coughing for hours after working on your new floor. When sweeping your subfloor, cutting laminate boards or edging and skirting boards, be sure to wear a dust mask to protect your throat and lungs. It will also stop you from breathing in any small bits of fibreboard as you cut it.
Ear muffs
Cutting laminate and skirting or baseboards can get noisy. Keep a pair of ear muffs close to your workbench and wear them if you’re using cutters or power drills. Even if you’re only cutting one piece, your closeness to the noise can do real damage to your hearing. They’re especially recommended if you’re laying a large floor or doing all your cutting at once.
Our Flooring Calculator
When you browse any type of flooring at Factory Direct Flooring Ltd, each product has a flooring calculator on the page. Simply enter the surface area in either metres or feet squared and our My Project flooring calculator will tell you how many packs you’ll need and how much it will cost you.
By simply measuring your room and entering your dimensions, we will provide you with an instant price which will show on every type of flooring you browse across our website. You can either input the total coverage or your width and length measurements, in meters or feet. You can even save your measurements room by room to make your shopping experience stress-free.
It also offers to add an extra 10% for wastage. While this may cost a little bit more, we highly recommend adding it just in case there are mishaps during the installation process. Enjoy the My Project flooring calculator below:
That’s it! Enjoy your new laminate flooring installation! If you need any more advice please call us on 0330 100 00 15 or check out our laminate advice centre and get the low-down on everything from maintenance to removal.