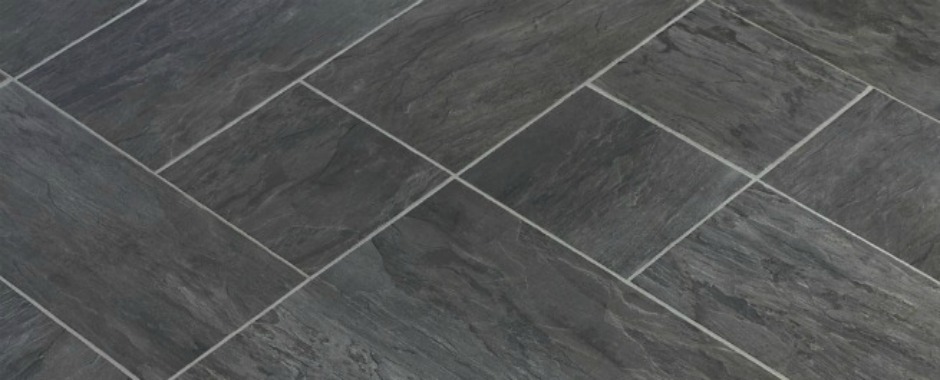
Over the last few decades, vinyl flooring has soared in popularity due to its versatility and low maintenance, not to mention its complete ease to install. This fantastic flooring solution realistically replicates real wood, stone or ceramic tiles, while being a fraction of the cost.
Read More: How to care for vinyl flooring
If you’d like to save even more money on your flooring, laying vinyl flooring yourself is relatively easy. Even though it sounds daunting, it’s surprisingly easy to lay. This simple step by step guide will help your vinyl flooring fitting without breaking a sweat, even if you’d consider yourself a flooring novice.
If you’re laying vinyl flooring or LVT yourself, here’s what tools you’ll need and how to install the vinyl floor depending on your room size.
Recommended Tools For Laying A Vinyl Floor
While there are many methods for installing various vinyl flooring, these are our recommended vinyl floor tools for quick and simple installation:
- Measuring Tape
- A pencil or pen
- A pair of scissors or a craft knife
- Double-Sided Tape
- Vinyl adhesive
- An adhesive trowel
- A Stanley saw (for skirting or beading)
- A mitre box (for skirting or beading)
- A hammer and nails or wood adhesive (for skirting or beading)
How To Lay Vinyl Flooring
Follow these simple steps how to lay vinyl flooring:
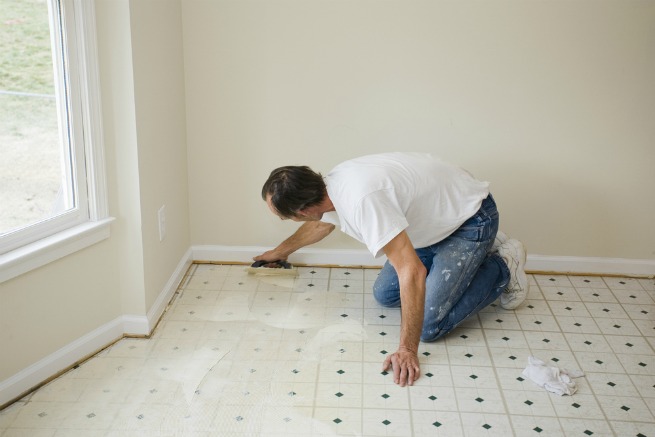
1. Prepare the subfloor
As with all other flooring installations, it is important that your subfloor is as clean and even as possible. Because vinyl is relatively soft, any bumps on the subfloor will show, so use a levelling compound if need be to ensure a smooth surface. Make sure your subfloor is fully dry and your new flooring has acclimatised for 24 hours out of its packaging; then you are ready to begin.
2. Install the Vinyl
Unroll your new vinyl flooring and cut to size after measuring each side of your room. It’s recommended to allow an extra 15cm of material just in case you run short towards the end. When you lay your flooring, the direction is surprisingly an important factor and in general, your vinyl should follow the direction of the main light source in the room. If your room is especially narrow, your vinyl should tend to run along the length of the room instead.
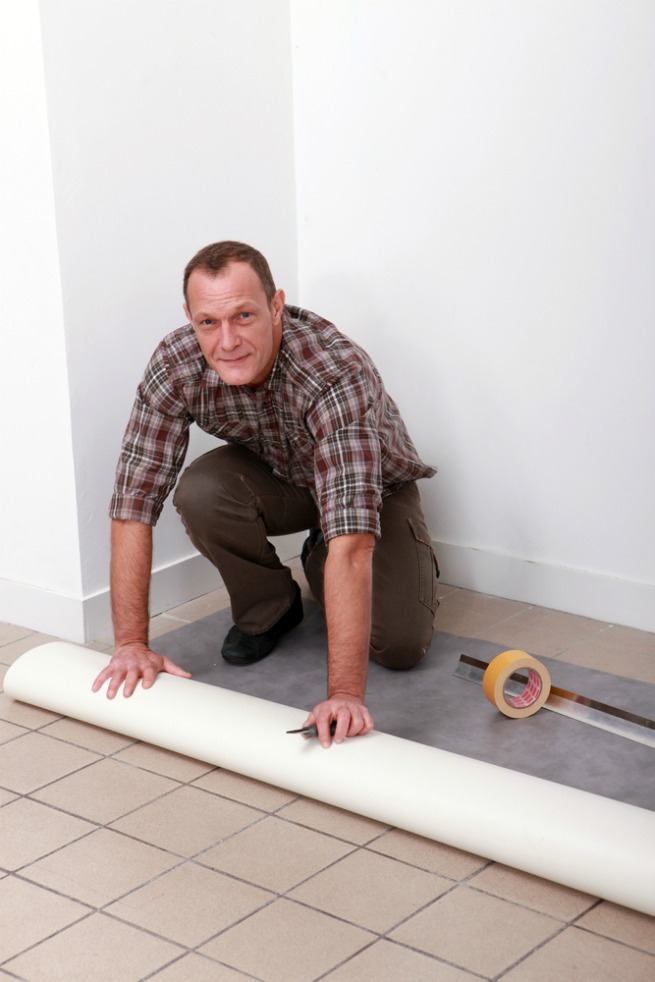
There are various methods of laying vinyl flooring depending on room size. For a small room, which is generally considered to be 12 metres squared or less, then loose installation will suffice. Simply lay your vinyl floor over the subfloor. For rooms between 12 and 25 metres squared, or rooms which will undergo a considerable amount of traffic, it’s recommended to use tape. Double-Sided adhesive tape around the room will easily secure the vinyl in place. Finally, for larger rooms of over 25 metres squared, it’s best to glue the vinyl down. Our Vinyl Flooring Adhesive Section offers many adhesives for this purpose.
3. Add Skirting
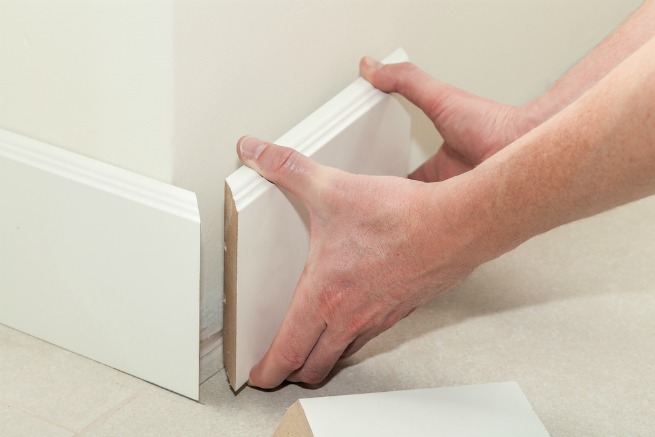
Adding skirting or beading around the perimeter of the room will help finish off a neat look and protect your vinyl. We offer a range of Skirting Boards and Beading to complement whichever effect of vinyl flooring you choose. After measuring the floor to decipher the length of beading or skirting you’ll require, use a saw to mitre the edges so they’ll fit neatly. Such skirting can then be easily glued or fixed down with a hammer and nail. Finally, polish and then enjoy your brand new vinyl floor!
Read more: What is the best vinyl flooring?
Our Flooring Calculator
When you browse any type of flooring at Factory Direct Flooring Ltd, each product has a flooring calculator on the page. Simply enter the surface area in either metres or feet squared and our My Project flooring calculator will tell you how many packs you’ll need and how much it will cost you.
By simply measuring your room and entering your dimensions, we will provide you with an instant price which will show on every type of flooring you browse across our website. You can either input the total coverage or your width and length measurements, in meters or feet. You can even save your measurements room by room to make your shopping experience stress-free.
It also offers to add an extra 10% for wastage. While this may cost a little bit more, we highly recommend adding it just in case there are mishaps during the installation process. Enjoy the My Project flooring calculator below:
Have you got any tips on how to install vinyl floors? Let us know in the comments!