Originally posted 5th August 2019
Last updated 27th June 2022
Vinyl Floor Care: How to Clean & Repair Vinyl Flooring
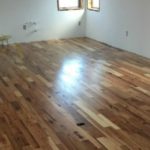
Vinyl flooring & Luxury Vinyl Tiles are a popular home solution due to the fact...
Vinyl flooring & Luxury Vinyl Tiles are a popular home solution due to the fact it’s quick and easy to install, it doesn’t require underlay and it can easily replicate a wood or tile effect while being a fraction of the cost. On top of this, vinyl floor care is incredibly simple, as it’s the easiest type of floor to install and maintain. Good news for those of us who want to avoid wasting weekends scrubbing the floors! If you want to maintain your vinyl’s good-as-new look, here’s some helpful tips for vinyl floor care to keep it in ship shape.
Related: Why you don't need underlay for vinyl
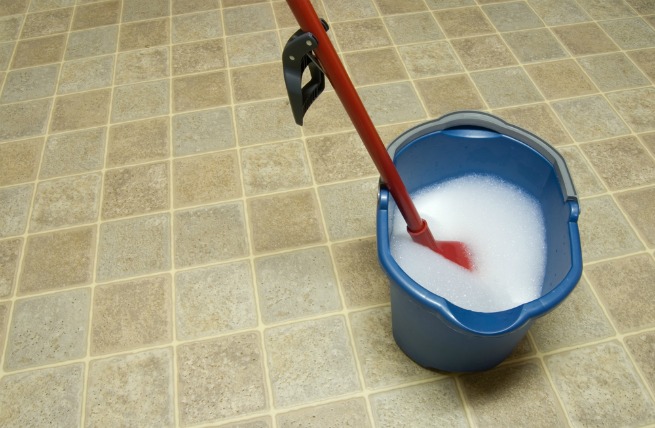
How to clean vinyl flooring
Cleaning your vinyl using only water will usually suffice. However, the best way to clean vinyl floors is to use a mild cleanser designed for vinyl floor care. Use this with a mop and water to add extra sparkle. However check the label before using, as different vinyl will require different products.
While it may be tempting to go overboard with your mopping, the best way to clean vinyl floors is to try to use water sparingly. Although vinyl flooring is not as prone to damage as solid wood, too much liquid does not benefit it. An overly wet mop could work its way into the seams of the vinyl and loosen the adhesive, which could cause bumps or curling.
After cleaning, ensure your flooring is completely dry by going over it with a soft towel. Vinyl is non-absorbent so any leftover liquid will otherwise just sit on the surface in puddles.
For tougher stains, bicarbonate of soda can also be handy with warm water. For even more stubborn stains, for example, wine, a small amount of bleach diluted with water will do wonders. After the product is applied, wipe away with a damp mop or cloth. Any leftover soap scum will develop a film and collect more dirt, so ensure you wipe away thoroughly. Whatever you do, always be gentle while scrubbing and don’t use abrasive cleaners or scourers which could mark the surface.
How to prevent any damage to your vinyl flooring
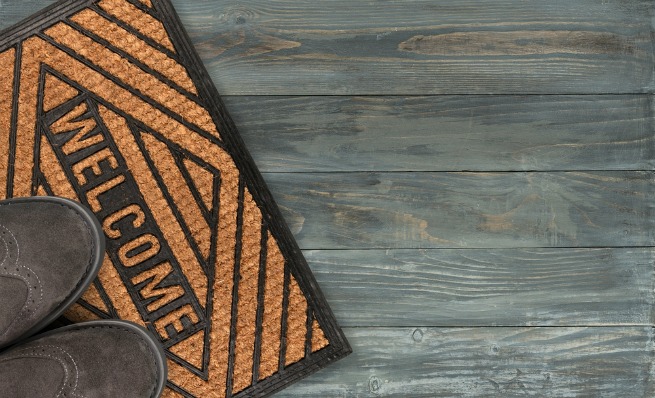
An essential tip for vinyl floor care is to avoid any damage in the first place with a doormat. Placing a doormat by your front door will help prevent grit from getting through to your beloved vinyl via visitors’ shoes. Grit and vinyl do not mix well as grit tends to erode the surface of your vinyl. For this reason, it’s also recommended to regularly sweep your vinyl flooring with a soft broom or use a hoover to remove dirt.
An extra tip when it comes to protecting your vinyl flooring is watching out for any weight placed on the surface. Tables or sofas that permanently sit on your flooring can leave a dent in the vinyl. Avoid this by fitting discrete and padded floor protectors to the bottom of your furniture. Also ensure that if you move these objects, you lift and move instead of dragging them across the vinyl floor and consequently scratching it.
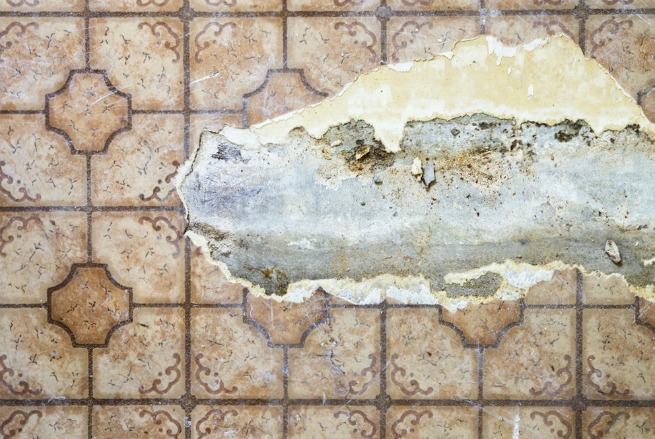
How to repair vinyl flooring
Although Vinyl flooring is one of the most durable types of floors, it sadly isn’t immune to damage. A simple repair is recommended if your problems are just minor rips or tears with smooth edges. This repair is easy to carry out yourself by simply using a vinyl floor adhesive and putty knife. But if your tear happens to be larger, have jagged edges, or be in a noticeable spot, it’s best to replace that section of flooring.
How to fix vinyl flooring minor tears
- To fix smooth and minor rips or tears, start by cleaning up any debris or dirt. This could otherwise lead to further damage and rips after the repairs.
- Next, gently wash the damaged area with warm water to get rid of any surface film on your floor, then dry thoroughly. At this point, you should open your windows to properly ventilate the room.
- Next, get out your vinyl flooring adhesive and using a putty knife, spread a little under the edge of the rip. Place firmly down on the area and then cover the rip with tape to allow it to dry properly. It’s helpful to add something heavy on top of the area to hold it all in place.
- Then leave the rip to dry for the length of time recommended on your chosen adhesive. After this, gently remove the tape and your vinyl floor should be as good as new!
How to fix larger tears
For the sections with the bigger tears with jagged edges, this isn’t easily fixable by simply glueing down and you’ll have to replace that section of flooring.
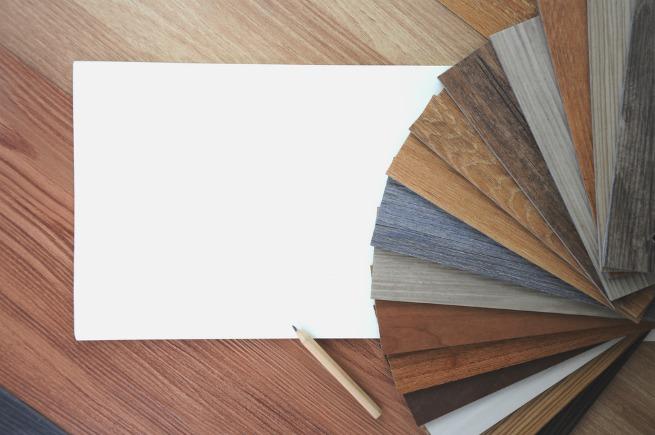
- To do this, start by finding a larger part of vinyl that matches your floor perfectly, either remnant from the installation or parts taken from a hidden section.
- Tape this piece over the damaged section, ensuring the patterns align. Then use a utility knife to cut through both layers of vinyl. Try and cut so the lines will go unnoticed, for example, if it’s a tile print, cut around the edges of the tile.
- Next, remove the damaged layer of vinyl, you may need a putty knife to break the vinyl away from the adhesive on the subfloor. Scrape off the old adhesive and then use the putty knife to apply a fresh, even layer of vinyl floor adhesive to the area of the floor.
- Finally, firmly press your new layer of vinyl on and leave for the recommended drying time of the adhesive. It’s also recommended to use a seam roller to allow the edges to blend perfectly.
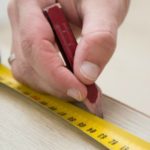
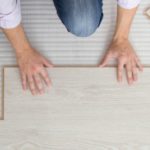
How to replace vinyl flooring
A new floor is the answer if your vinyl is past the point of no return. For example, a replacement is needed if there are noticeable rips in various areas of your floor. Or if your floor has undergone water damage which makes it more susceptible to further tears. However, the installation process for vinyl floors is relatively easy.
Related: How to Install Vinyl Floors
- Start by removing your existing vinyl, cut it into manageable strips and pull away from the corner, using a scraper to separate the flooring from the adhesive. For especially stubborn areas, it’s best to heat the section beforehand with a heat gun or even hairdryer. This softens the adhesive making it compliant.
- Once you’ve reached your subfloor, thoroughly clean it by sweeping away any dust or debris and allow it to dry for at least 24 hours, during this time take your new vinyl out of its packaging and allow it to acclimatise.
- When ready, start by cutting your new vinyl to the size of your room, allowing an extra 15 cm just to be safe.
- Then lay over the floor. The installation method depends on the room’s size. Smaller rooms can get away with a simple loose installation without glue. For rooms between 12 and 25 metres squared, use double-sided tape, we offer this in our Adhesive Section. For larger rooms, spread adhesive on the subfloor before laying.
- Finish by adding beading with glue or a hammer and nail.
Our Flooring Calculator
When you browse any type of flooring at Factory Direct Flooring Ltd, each product has a flooring calculator on the page. Simply enter the surface area in either metres or feet squared and our My Project flooring calculator will tell you how many packs you’ll need and how much it will cost you.
By simply measuring your room and entering your dimensions, we will provide you with an instant price which will show on every type of flooring you browse across our website. You can either input the total coverage or your width and length measurements, in meters or feet. You can even save your measurements room by room to make your shopping experience stress-free.
It also offers to add an extra 10% for wastage. While this may cost a little bit more, we highly recommend adding it just in case there are mishaps during the installation process. Enjoy the My Project flooring calculator below:
Get instant Personalised Pricing for your room
- Enter your unique room measurements.
- We'll give you an instant price for the flooring you need in your home.
We hope this helps you with your vinyl floor care. If you need any more advice on our range of vinyl flooring, please call us on 0330 100 00 15.